Distribution Lists module allows you to group Organisations or Contacts to send out and log mass communications and engagement activities. Follow these steps to create a distribution list:
1). Go to the Distribution Lists module.

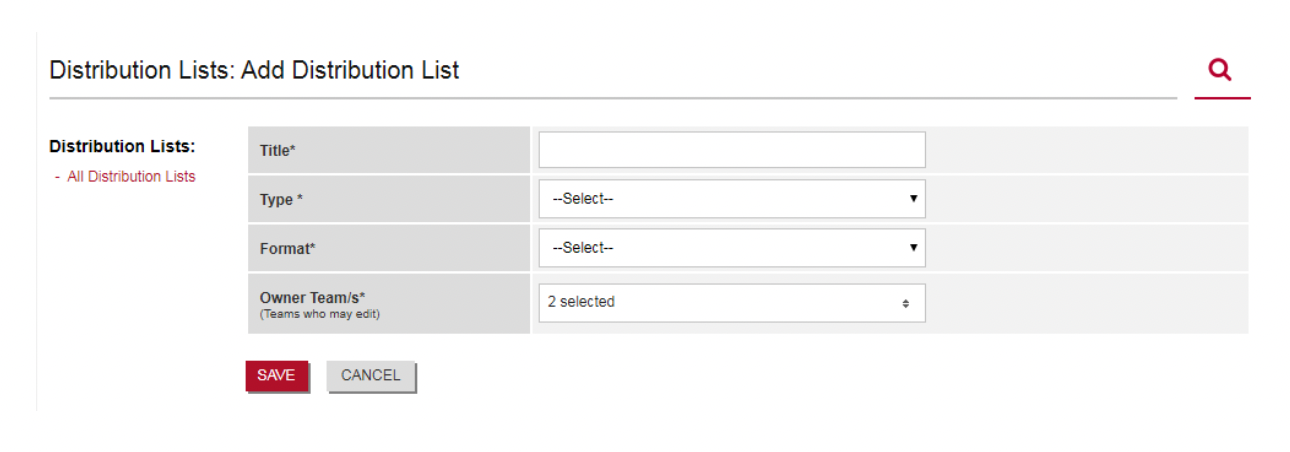
2). Click Add Distribution List

3). Give the distribution list a Title, Type, Format and Owner Teams (users who can use/edit this list), click Save when completed.
Please Note - You are required to select a Type field. For each distribution list, you create you will require to select a type - Organisations or Contacts.
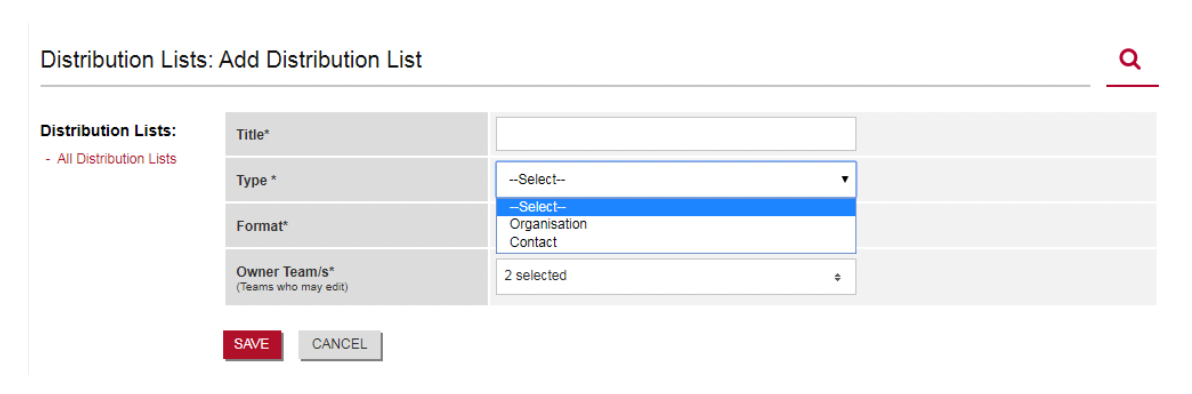
Organisation Distribution List would look like the below;
Tractivity, Royal Mail, NHS Hospital
Contact Distribution List would look like the below;
Victoria Adamson at Tractivity, Joe Bloggs at Royal Mail, John Smith at NHS Hospital.
Please Note - Further support with the Format field. For each distribution list, you create you will require to select a format - Email (Plain-Text), Mailshot, Post, SMS or Telephone.
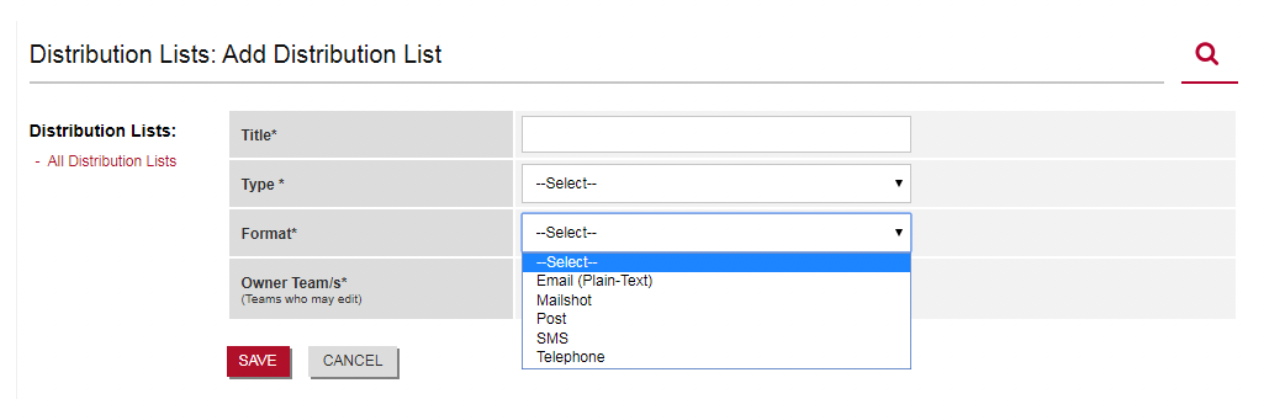
Only one format per distribution list - so should you require all Stakeholders from a set Sub Project to be included in a distribution list for both Post and Email, you will need to create two lists.
Please note - Email (Plain-Text) does include a GDPR subscription opt-out button within emails you send, so please ensure you are communicating with your internally agreed procedures.
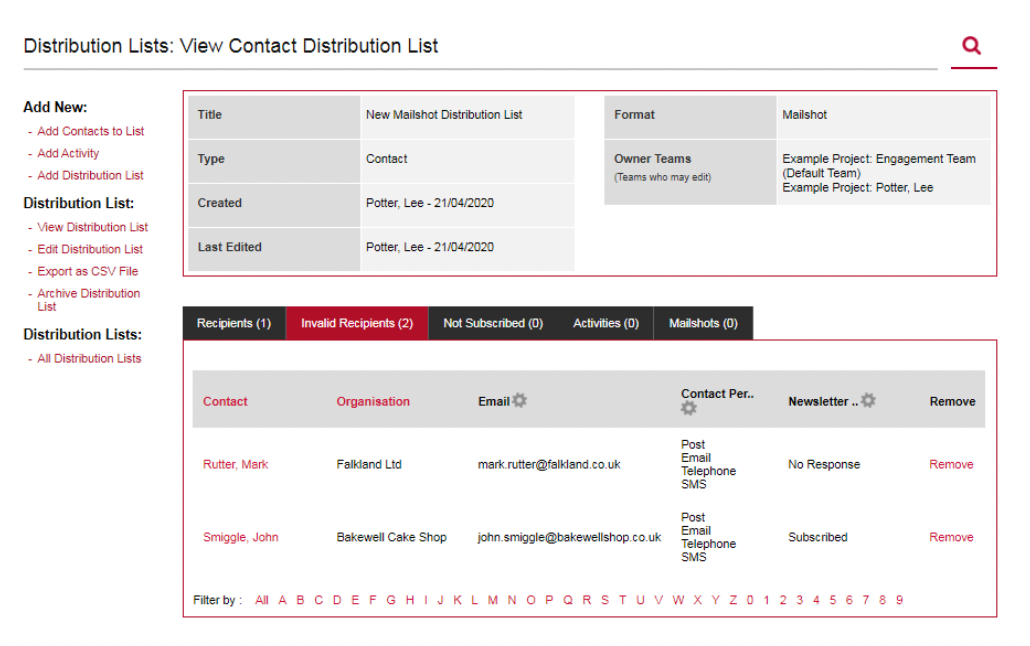
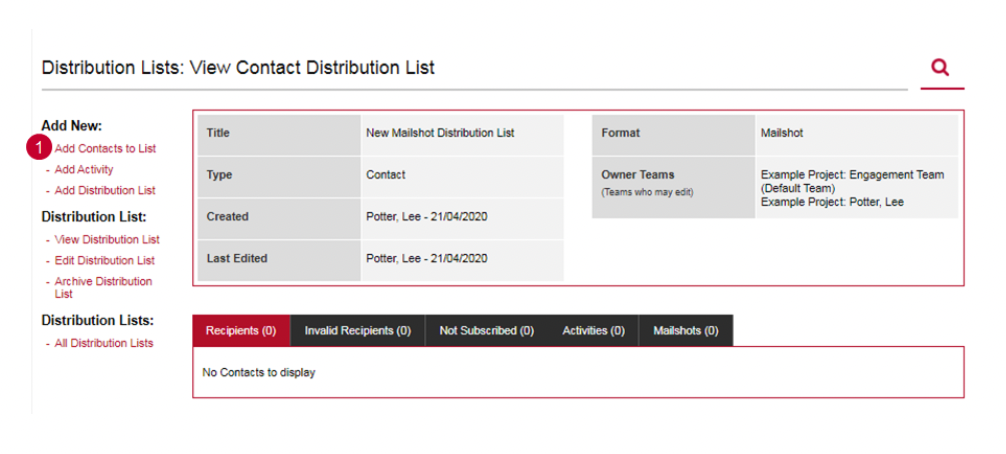
4). Once you have clicked Save, you will be taken to the View Contact/Organisation Distribution List screen. The next stage will be adding the contacts/organisations to the distribution lists by clicking Add Contacts to List (1).
5). Use the search filters and fields to find the Contacts/Organisations you wish to attach to the distribution list.
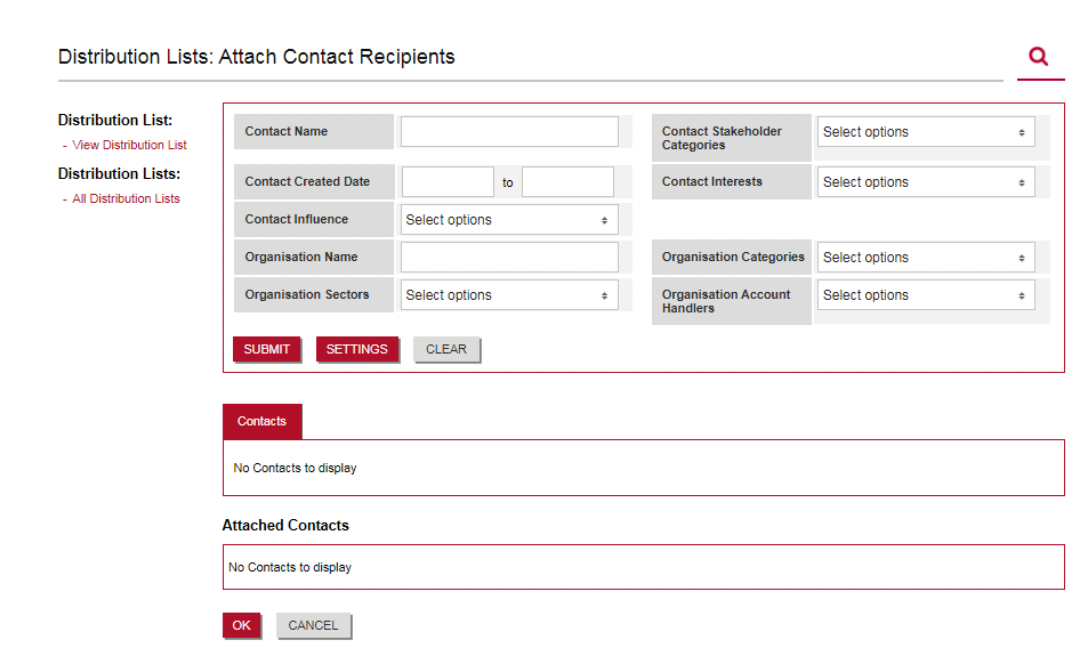
6). The search will populate the Contacts (1) section. You attach contacts/organisations to the distribution list by clicking the Attach (2) or by using the tick boxes (3) to multi-select contacts/organisations and click Attach (4). Attached contacts will then populate the Attached Contacts (5) section. Click OK (6) when finished.

7). Back in the View Contact/Organisaton Distribution List screen, you have an overview of the contacts/organisations you have attached to the distribution list.
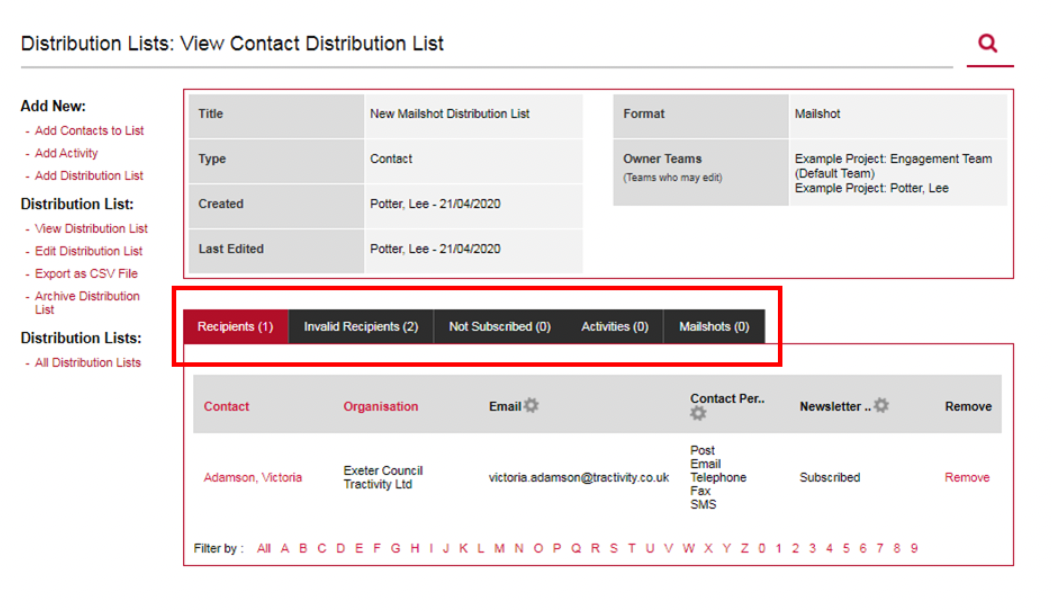
Please Note: Invalid Recipients are contacts/organistions you have attached to the distribution list that have incorrect data. EG: Email (Plain-Text) - Incorrect email address or Post - No address data.
The Not Subscribed tab will have the contacts/organisations that are currently opted out (GDPR preferences) for the distribution list communication Format you have selected (Email (Plain-text), Post, Phone, Mailshot etc...).